Written By Caromāros – Gutuatir of BNG
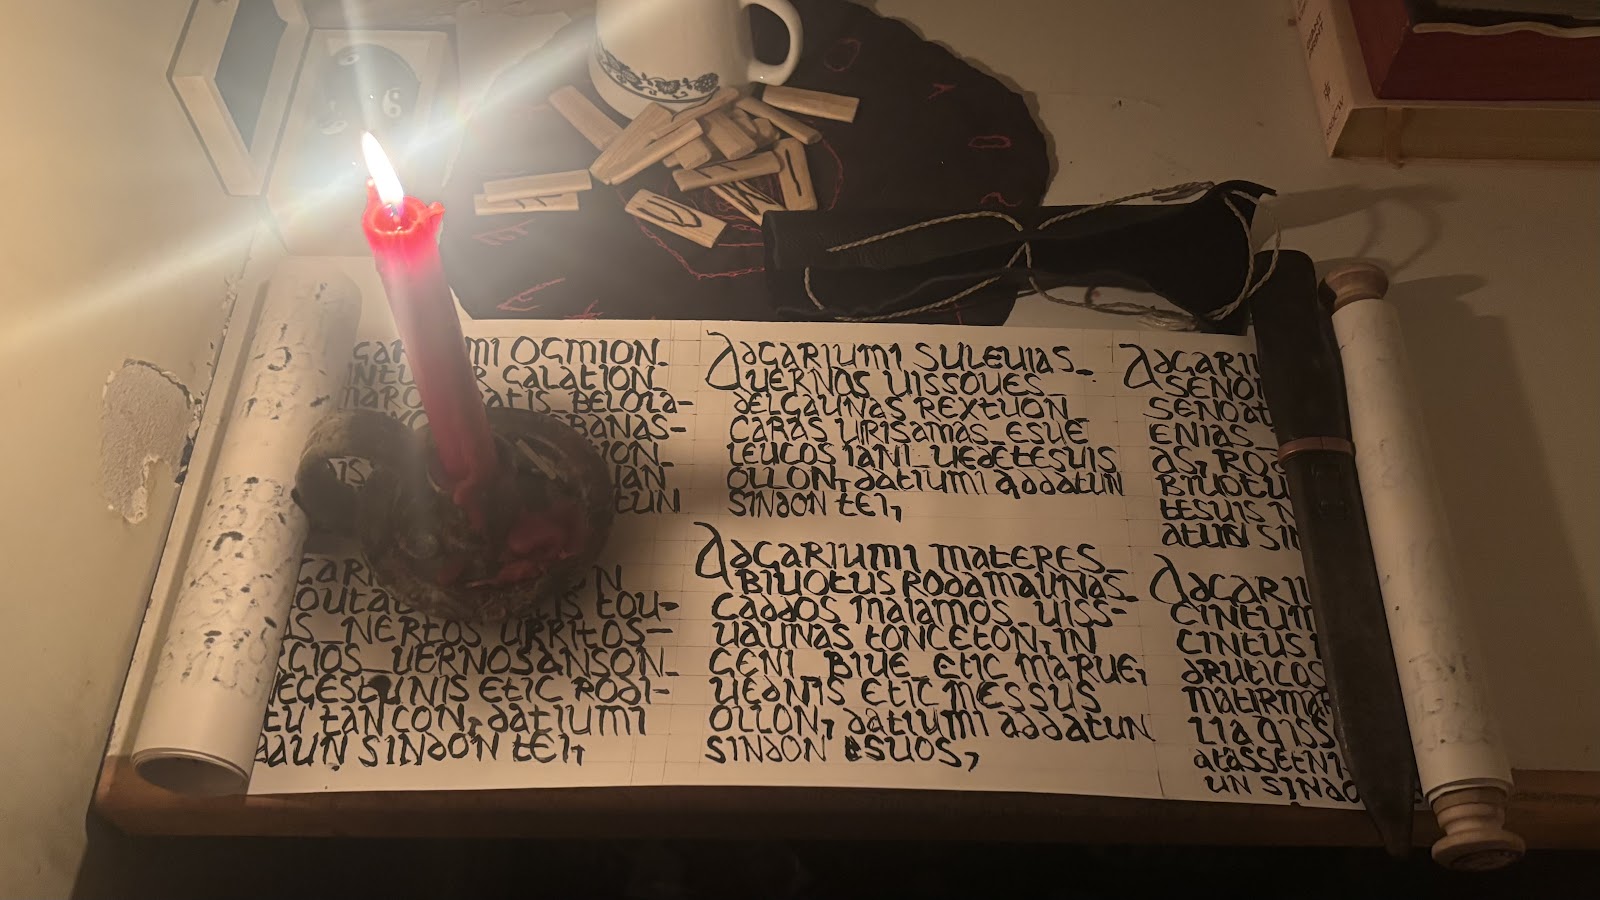
I’ve been practicing calligraphy lately and I really wanted to dig into how I should mix that in with a handmade writing medium, plus I needed a new altar tool for my daily practices anyway, so I decided to put down the entire “run” of daily rites for Bessus Nouiogalation, 1 whole week’s worth with a little personal flair.
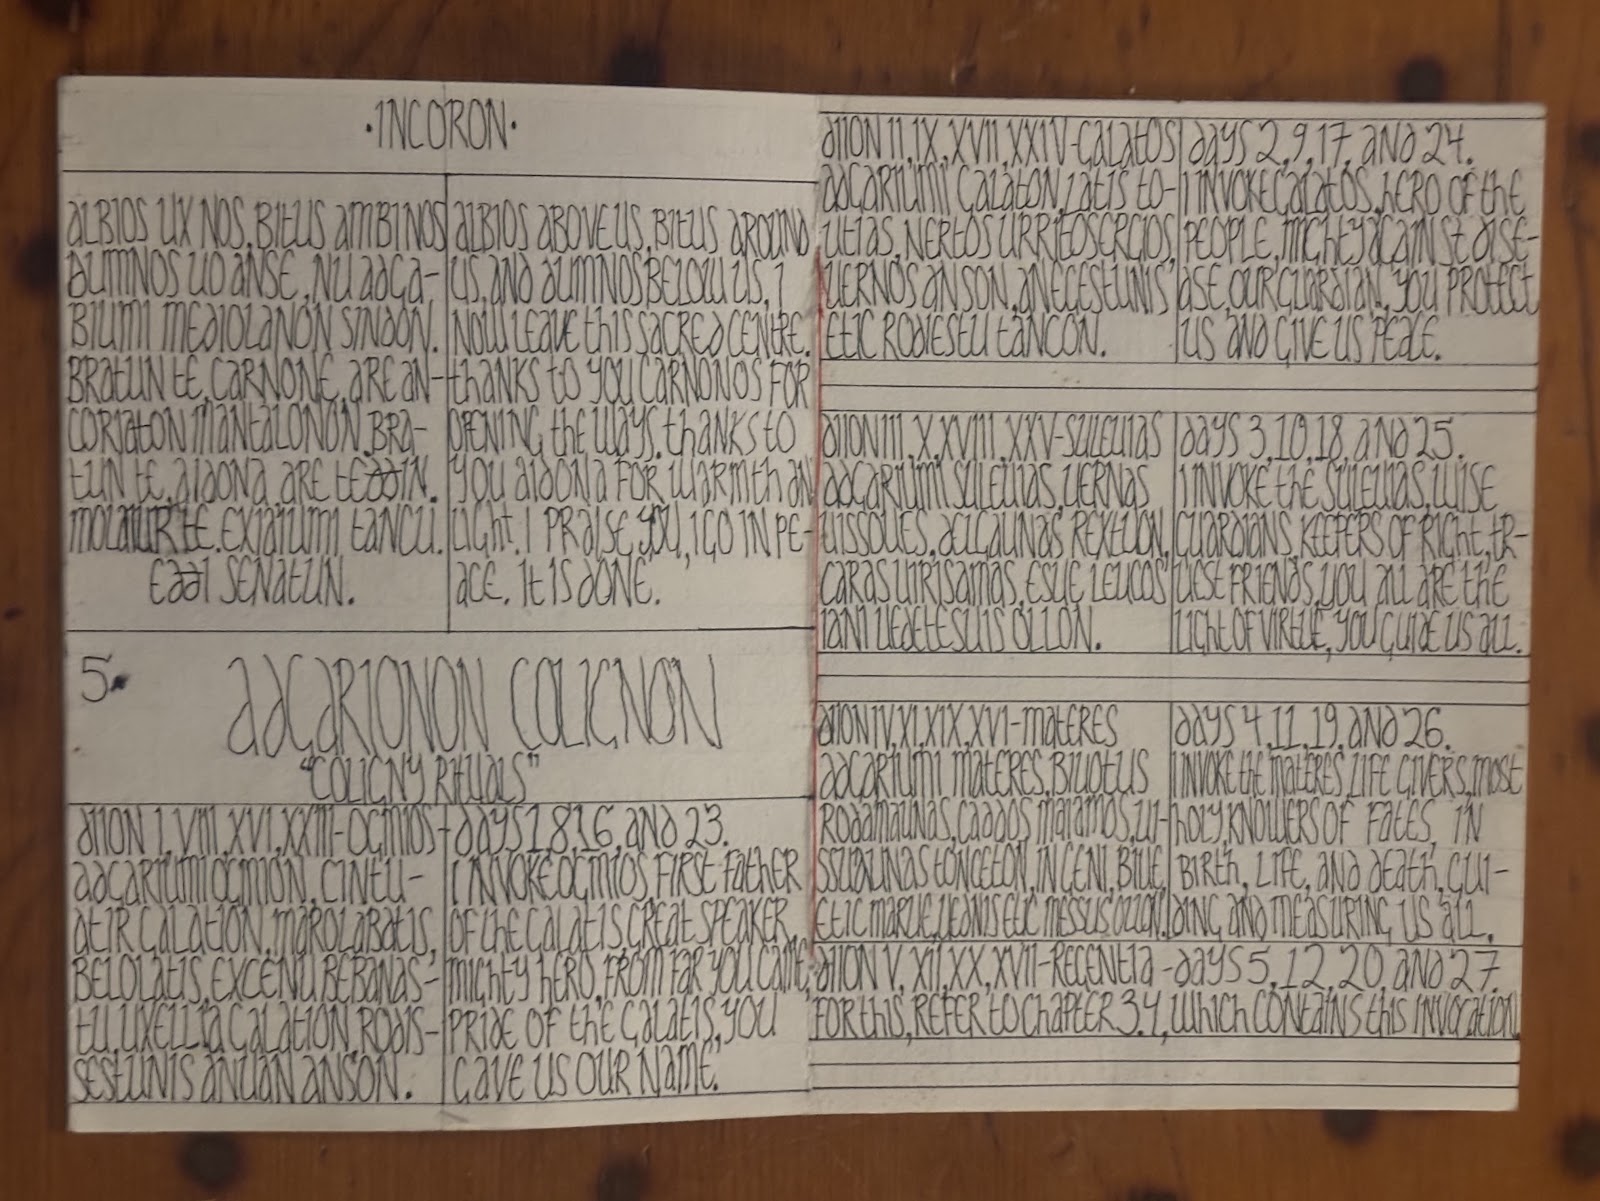
The grand sum of Dēuoi, or deities, acknowledged in the daily rites throughout a week is 8, counting (in order of appearance on the scroll) Aidonā, Carnonos, Ogmios, the Toutatis Galatos, the Suleuiās, the Materēs, the Regentiā, and Celtinā. I wanted to do the script fully in the Iextis Nouiogalaticos, or tongue of the new galatis, and so I set out to figure out how in the heck to make that a thing.
Let’s be real with ourselves, I’m a huge freakin’ history nerd, almost to a fault. I rock around in a belted plaid, I carve little wooden figurines for my kids, I make meals and bread based on historical finds – honestly, if I’m gonna try something new, I look for as old a tutorial as I’m capable of finding. I can confidently say that I enjoy a challenge.

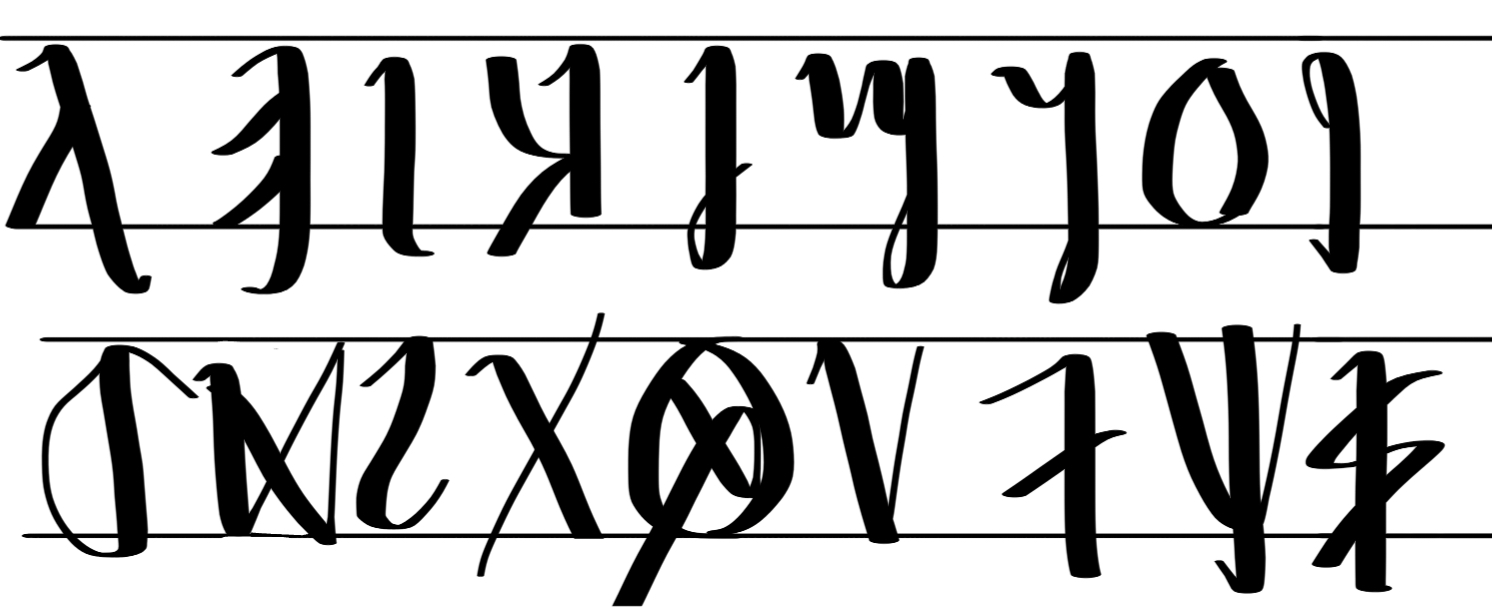
I went as far as to create an entire branch-off from the Lepontic runoi commonly used among Gaulish polytheistic practitioners, and mixed them with uncial calligraphy’s flowing, almost-liquid script. It can even go frontwards and backwards, that’s the sort of rabbit-hole it seems I’ve become used to diving down on a regular weeknight – I don’t mind, honestly! (I’m sure I’ll share this script in a later post, so stay tuned..)
I’ll come back from the tangent now, but a challenge is NOT what I would define scrollmaking as!
I see people all over the internet making a Book of Shadows here, a practice journal there, and I must say, it’s always been something that appealed to me, although my practices aren’t quite so complicated as to fill a whole book from cover to cover, and so I wanted to search for other options that resonated with me and reflected the tone of a religion from thousands of years ago. That was when I settled upon scrolls, inspired by the large amount of them scattered across ancient-themed Hollywood sets, and I wanted to know more.
Tough luck, Caromāros, not a snowball’s chance!
The definition of a “scroll” is a riddle, wrapped in a mystery, inside an enigma. Lame try at humor aside, Oxford Languages describes the noun “scroll” in the context of a writing surface as “a roll of parchment or paper for writing or painting on.”. Notice the lack of any form of “thing” to roll that parchment or paper upon? I sure did.
I then had to look into it more, and Carla Hurt, the writer of this blog post on foundinantiquity.com, brought up some very good points when referencing Roman scrolls, found both in-situ as well as in media depictions. From the layers of volcanic ash that covered the Villa of the Papyri in Herculaneum, enough preservation was granted to give us carbonized scrolls that were written “back in the day”, and none of them have wooden bars in them.
Additionally, Carla points to the Roman marble statue of Sophocles, an ancient copy of a Greek statue from the 4th century B.C.E., which depicts Sophocles (surprise!) with a bag of scrolls (also a shock, I know!). One thing noticeable from this statue that pertains to our topic here is that the scrolls all finish in a flat end and are all the same length, insinuating that there was no rod or bar in these scrolls either.

This is all great work, and it’s super helpful for anyone who genuinely wants to create something right out of history, but I wanted to make something that I would be capable of holding in my own hands, pass around to people, put in my bag and bring with me to different places, all without worrying about it being crushed or bent. I think the reason that all these prop-masters have enforced the idea of a scroll with a bar is the durability that it adds – you simply wrap the paper or parchment tight around the bar, tie it off, and now you’re clear of the risk! It also gives you something to help wrap it up with, as you can turn the knobs on the end of the bar as you would a dial, yet the fancy embellishments are unnecessary if you’re just going for something that will keep your work safe.
The actual creation of the scroll, the reason for this whole post, is probably the simplest thing you can do. Like, I wrote this whole wall of text for gluing paper onto a stick, people. There isn’t much to it, I swear!
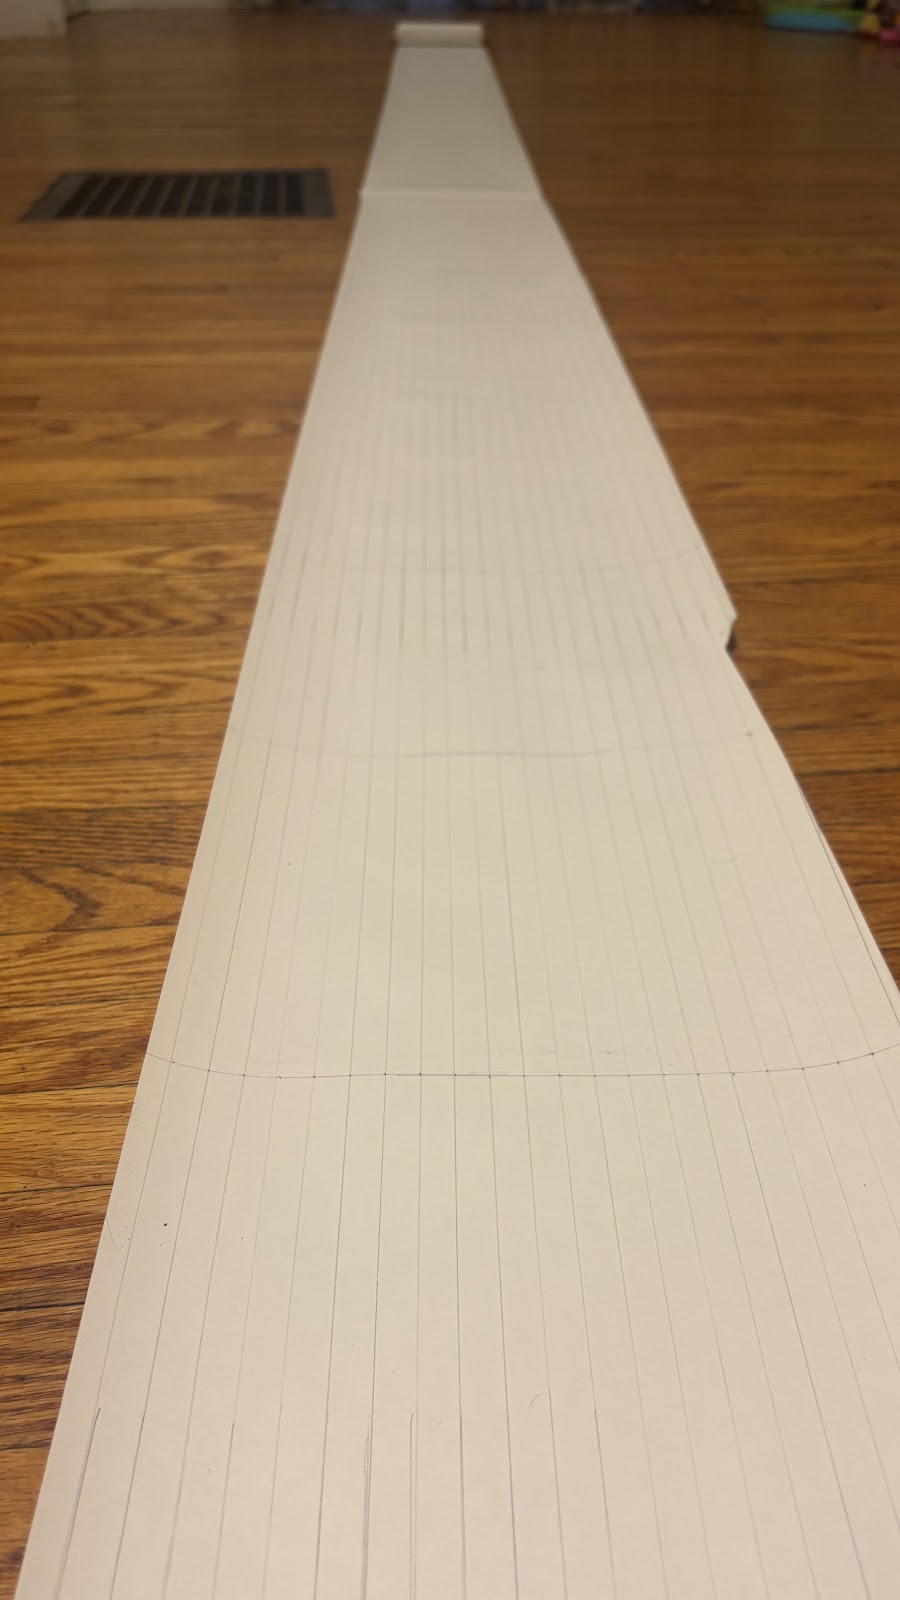
I got a roll of paper 9 meters (30 feet) long, and then I figure out how wide I want the whole scroll to be – let’s say a standard paper width of 8.5 inches. I then unroll the paper to a manageable length, because it’s DAMNED long, and mark the paper suitably with a pencil and ruler. You just need to measure up from one end to the desired distance, put a dot on the paper, and then once you’ve reached your desired length off of the roll, go back and connect all the dots. Take your ruler again, put something disposable like an old board underneath where you’re going to make your cut, and get a really sharp knife to make the cut.
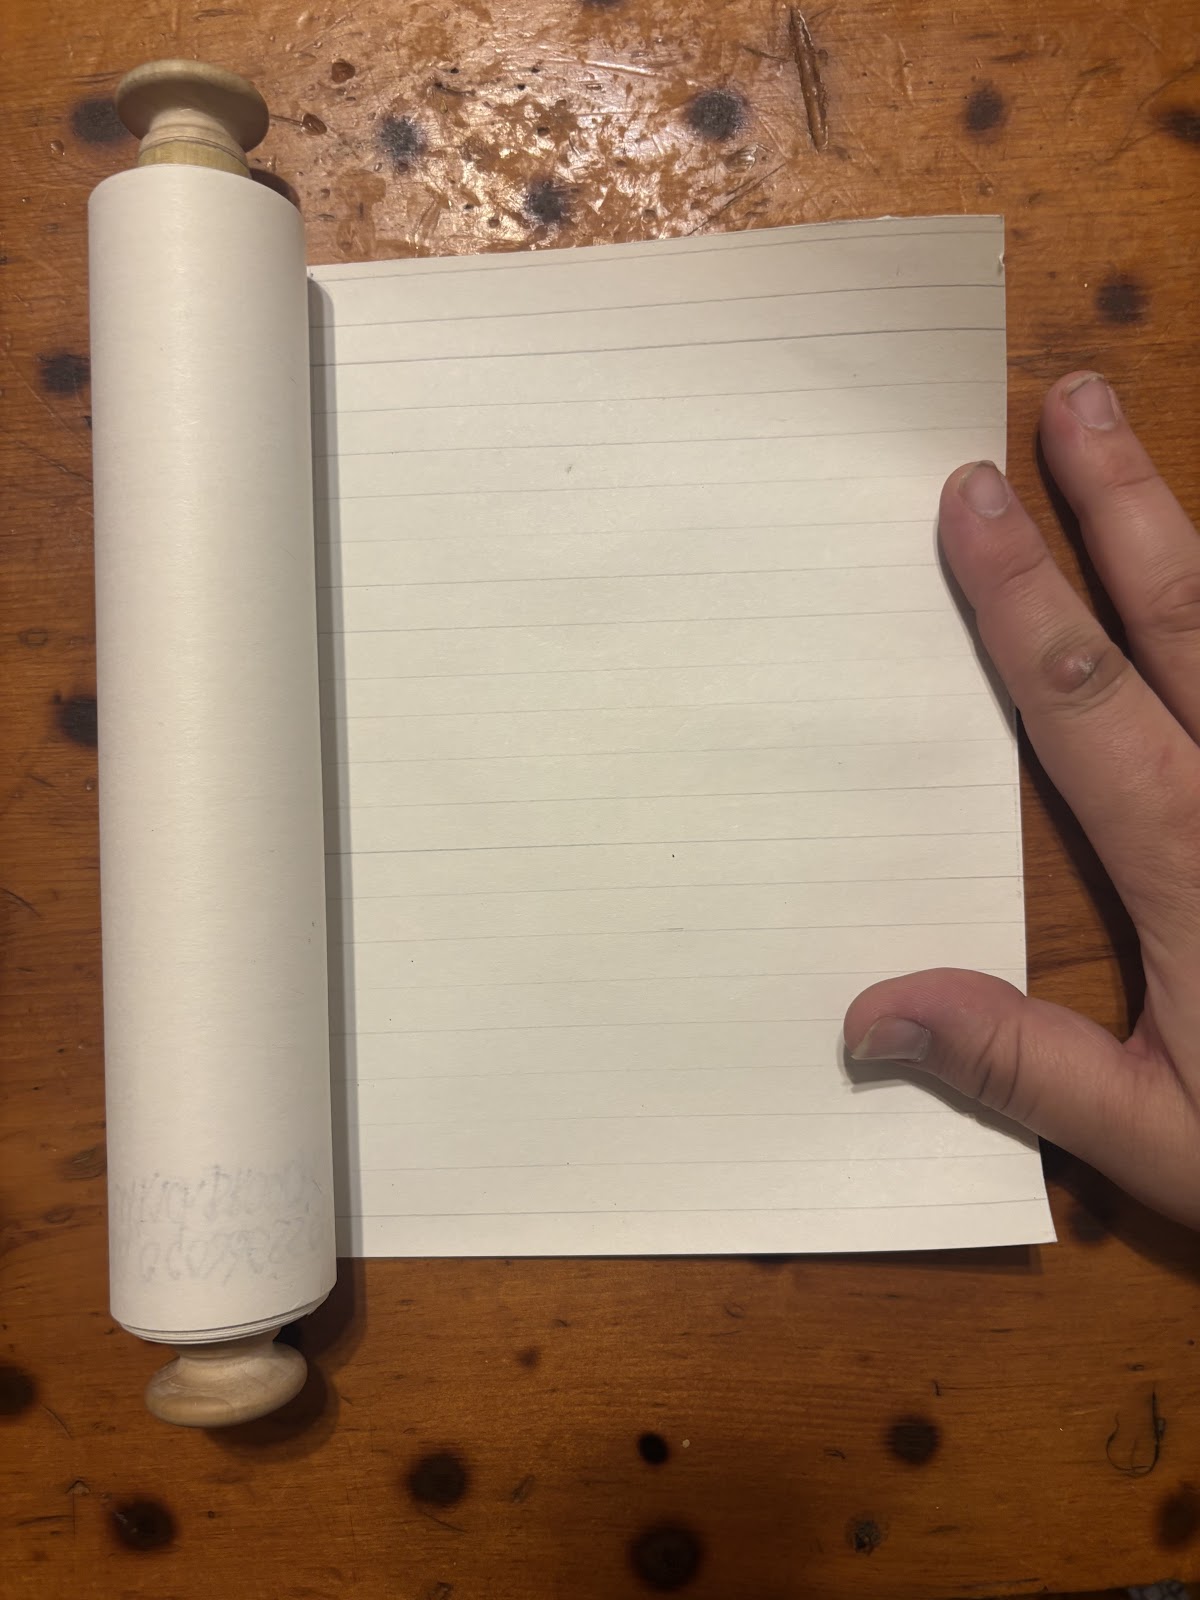
That’s it. The paper is in a roll, it naturally wants to roll back up on itself, and going off of the way that scrolls were made historically, you can call it done at this point and walk away with something straight out of a monastery. I figured I’d go further though, so get yourself a piece of hardwood dowel from the big box store, cut it down to 25.5 centimeter (10 inch) long, and then pop some cabinet knobs onto the ends of it with superglue.

You’ll find that the cabinet knobs don’t quite match the size of the dowel, they’ll be smaller, so that’s why we went longer on the rod – so that we can sand it down to a smooth transition! Just make sure you mark where the paper will be, and don’t go into that zone, or you’ll have some difficulties when it comes to the next part.
Once your ends are sanded, you’ve applied any finishes or stains that you want, and you’re pleased with the result, take the superglue again and glue down one end of the paper onto the rod. Set it all up so that the rod goes in between the part you’re gluing and the rest of the scroll, which will help the scroll want to roll the right way – if you don’t do this, it’s fine, it just takes more effort to roll it until the paper gets used to the new curve! Get it all rolled up, and now you can do whatever else you’d like.
When you go to write on it, if you want it horizontal, just unroll it with the bar on the right and the paper going out towards the left (unless you’re writing in a left-facing script, in which case flip it so the bar is on the left and the paper goes rightwards.). At this point you can go back through the scroll and mark your pages and your lines with ruler and pencil, and once you’ve written with ink you can erase the pencil from the page, or leave it.

If you’d rather the scroll gets held at the top and goes downward, like the image in the collective mind of what a town crier looked like, then you can forego pages and just mark your lines, the pages are just so you don’t have to unroll 5 feet of paper to finish a single paragraph!

Now what the heck are you still doing here?! You just read an entire blog post on how to make a scroll, clearly you’re interested! Go roll up some paper and write on it already!